The creation of the bridle is very straightforward. The difficult part is to find the best place to put the tow point. You already have the distance to the foil, but where do you have to put it 'spanwise' ? One method is to compute the projected area centroid. It will give good results most of the time.
Work on a copy !!!
We will work with this temporary file.
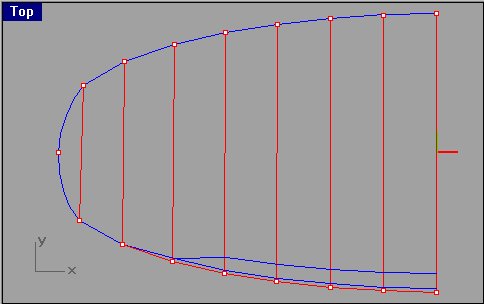
First, delete all the objects, except the chords. Use the top view. Project all chords on the current plane (Rhino :Transform>Project to CPlane). Delete every object, except the project chords. Now, connect all chord ends to define the outline of the projected shape.
Select the outline.
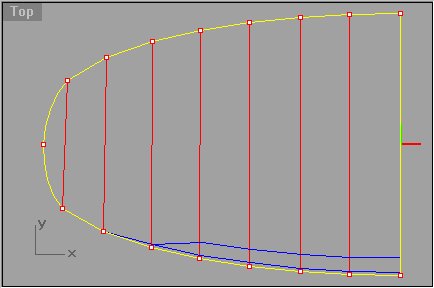
Join all these curves if needed and destroy everything else. The create a surfcae from the outline (Surface>From Planar Curves).
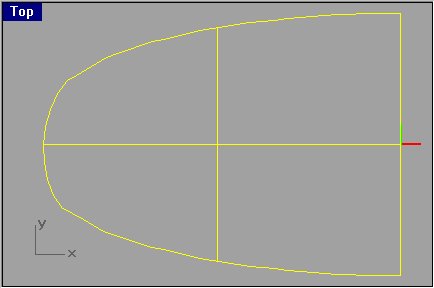
If you want to know the projected area, use the Analyze>Mass Properties>Area function : it will give you the (half) projected area. If you want to know the projected span, use the Analyze>Bounding Box on the outline curve. You could compute the projected AR : AR = span × span / area. For your information, the AR of the example is : 3.29.
What we want to find is the X value of the area centroid : Analyse>Mass Properties>Area Centroids. Export this point or ask for the its properties, so you could easily import it or recreate it in your model.
Remember that only the X coordinate matter. Create it under the Xcp point of the center profile (on the right view).
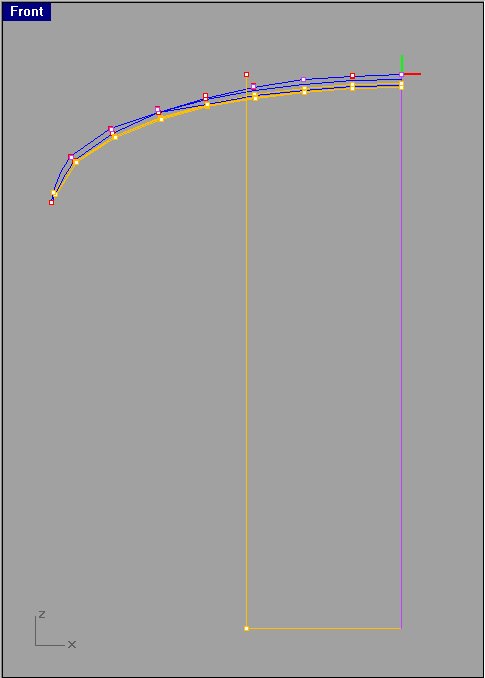
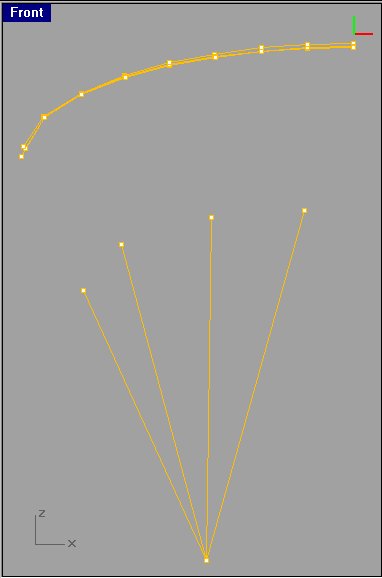
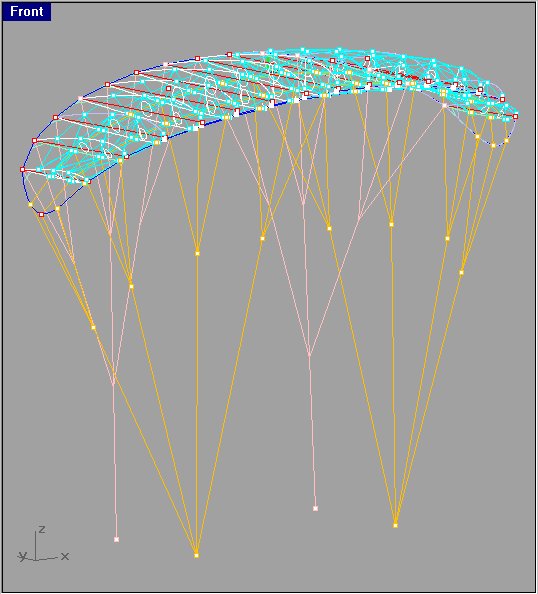
Now we can create the bridle. Here, I'll create a very simple bridle, every third rib (because of the D-Ribs). Connect the tow point to the Xcp points of the profiles (purple points), and NOT directly to the A, B or C points, except for the tip (connect to the B).

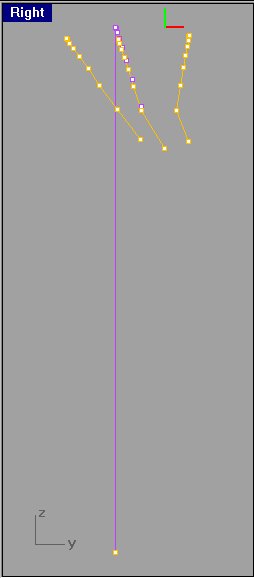
The length of the secondary bridle is up to you. If you want to keep it simple, just divide the secondary bridle lines in 2 or 3 (the method I used here). It's not the more efficient, but it works (Curve>Point Object>Divide Curve by>Number of Segments). Then, cut (split ou trim) the secondary bridle lines.
Now, connect the secondary bridles to the A, B and C points.
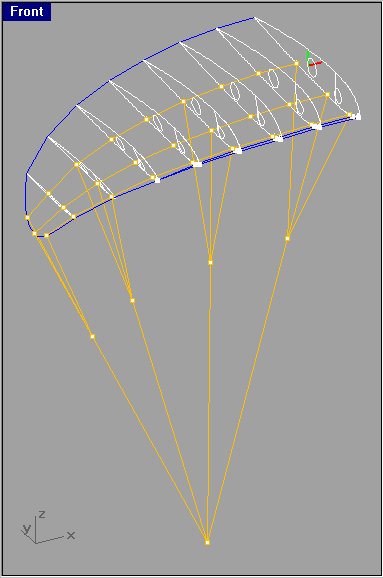
Use the same method to create the brake bridle. If you want efficient brakes : bridle every rib ! Notice that I made a mirror copy to create the whole kite (it's not mandatory). To get the bridle length, use the (Analyze>length) function.
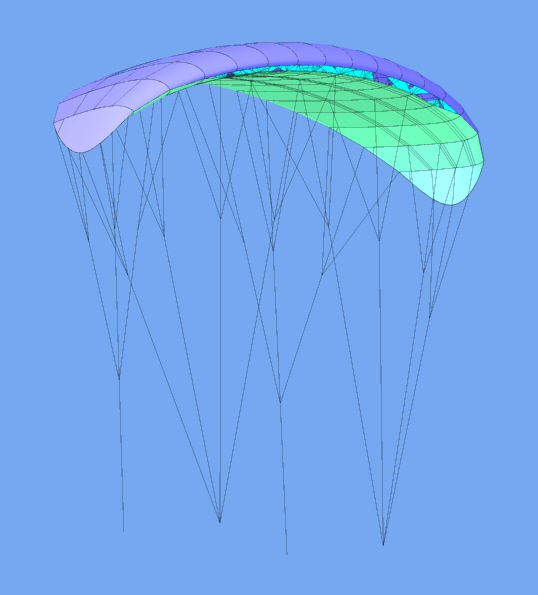
Using the rendering function :
The modelling part is over ! Create a backup of your work, and work with a copy to unroll the surfaces. That's the last thing we have to do (before printing the patterns and building the kite !!!)