|
|
This stage requires a lot of time, so I'll just detail the main operations for one surface. You'll have do to it for every surface.
First, do a backup of your file, we will create a new file for the patterns. Then, destroy every useless (at this stage) objects, ie just keep surfaces and associated marks, for half a foil.
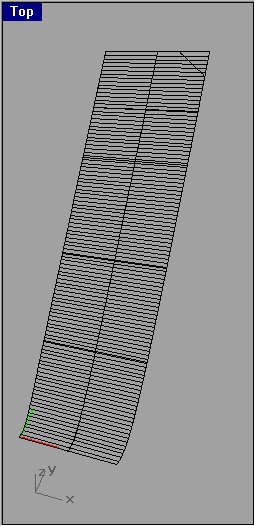
Now, select a surface and every associated marks : D-Ribs positions, pinches, positioning mark, bridle lines, etc. Create a new layer and ask for the surface unrolling : Surface>Unroll Developpable Srf.
Notice that Rhino create the unrolled surface at (0,0,0), so it's a good idea to move all surfaces away from this point first.

You get :
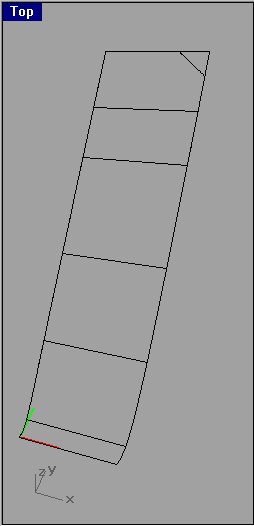
Now, select the unrolled surface and ask for the outline (Curve>From Object>Duplicate Border). Then the unrolled surface may be destroyed.
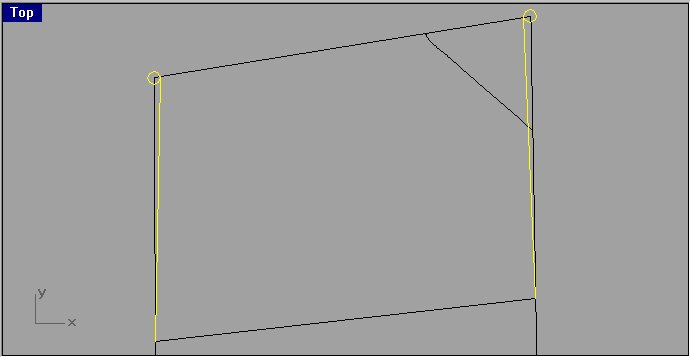
We will now create the pinches (if any). Here, I'll create a 3mm wide pinch on each side. I just need to create two small circles (3mm radius) and to connect 1) the intersection of the circle and the trailing edge and 2) the pinch mark.
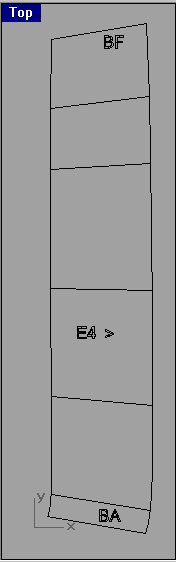
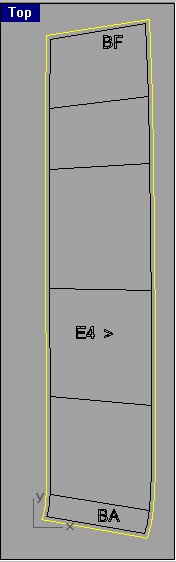
I just need to create the new outline of the pattern (use the split and join functions) and put text informations. On the picture bellow, the text means : BA = Leading edge ('Bord d'Attaque' in french), BF = Trailing edge ('Bord de Fuite' in french), E4 = Upper skin n° 4 ('Extrados' in french) and the '>' sign is directed toward the center of the foil.
Of course, you can also make pinches at the leading edge, use the same method. If you want to use seam allowances, draw them with the Curve>Offset function. Here, a 7mm seam allowance :
Now, do the same for every surface of the upper and lower skins. Don't forget D-Ribs. It's easy, but very time consuming.
For the profiles, you don't have to use a surface unrolling function, as they are already flat. Use one of your backups (if don't have one ... I told you you should !). You just need to align them on the same plane, using a 'project on current plane' function.
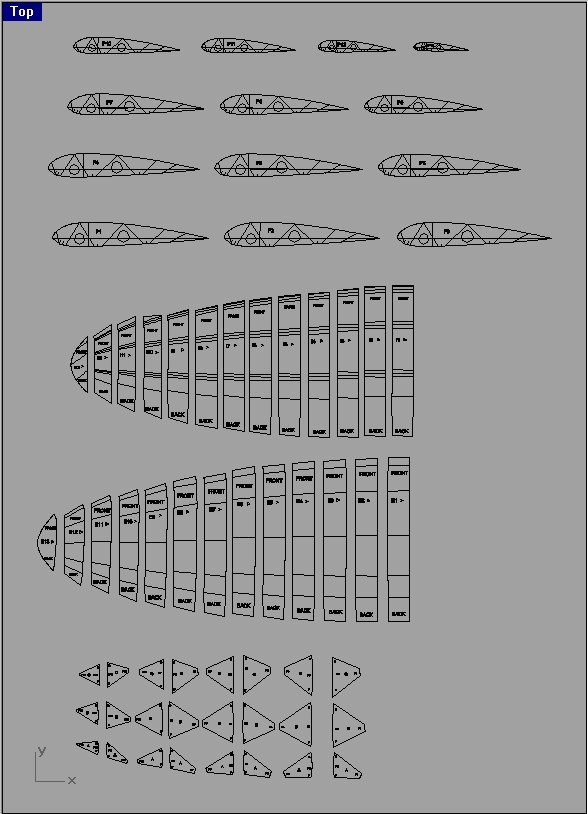
Here's what you get (it's the patterns of my 4.5m², not the example) :
Now, you have to print your patterns. It's not always the easiest part. I'm using TurboCAD, which is very nice (see the links section). You have to manually dispose the patterns, but it works. Another solution : use an A0 plotter. If you can, you're very lucky !
I hope you found these few pages useful. If you build a kite using this little manual, I'll be very pleased if you send me a mail. Thanks in advance.
|
|